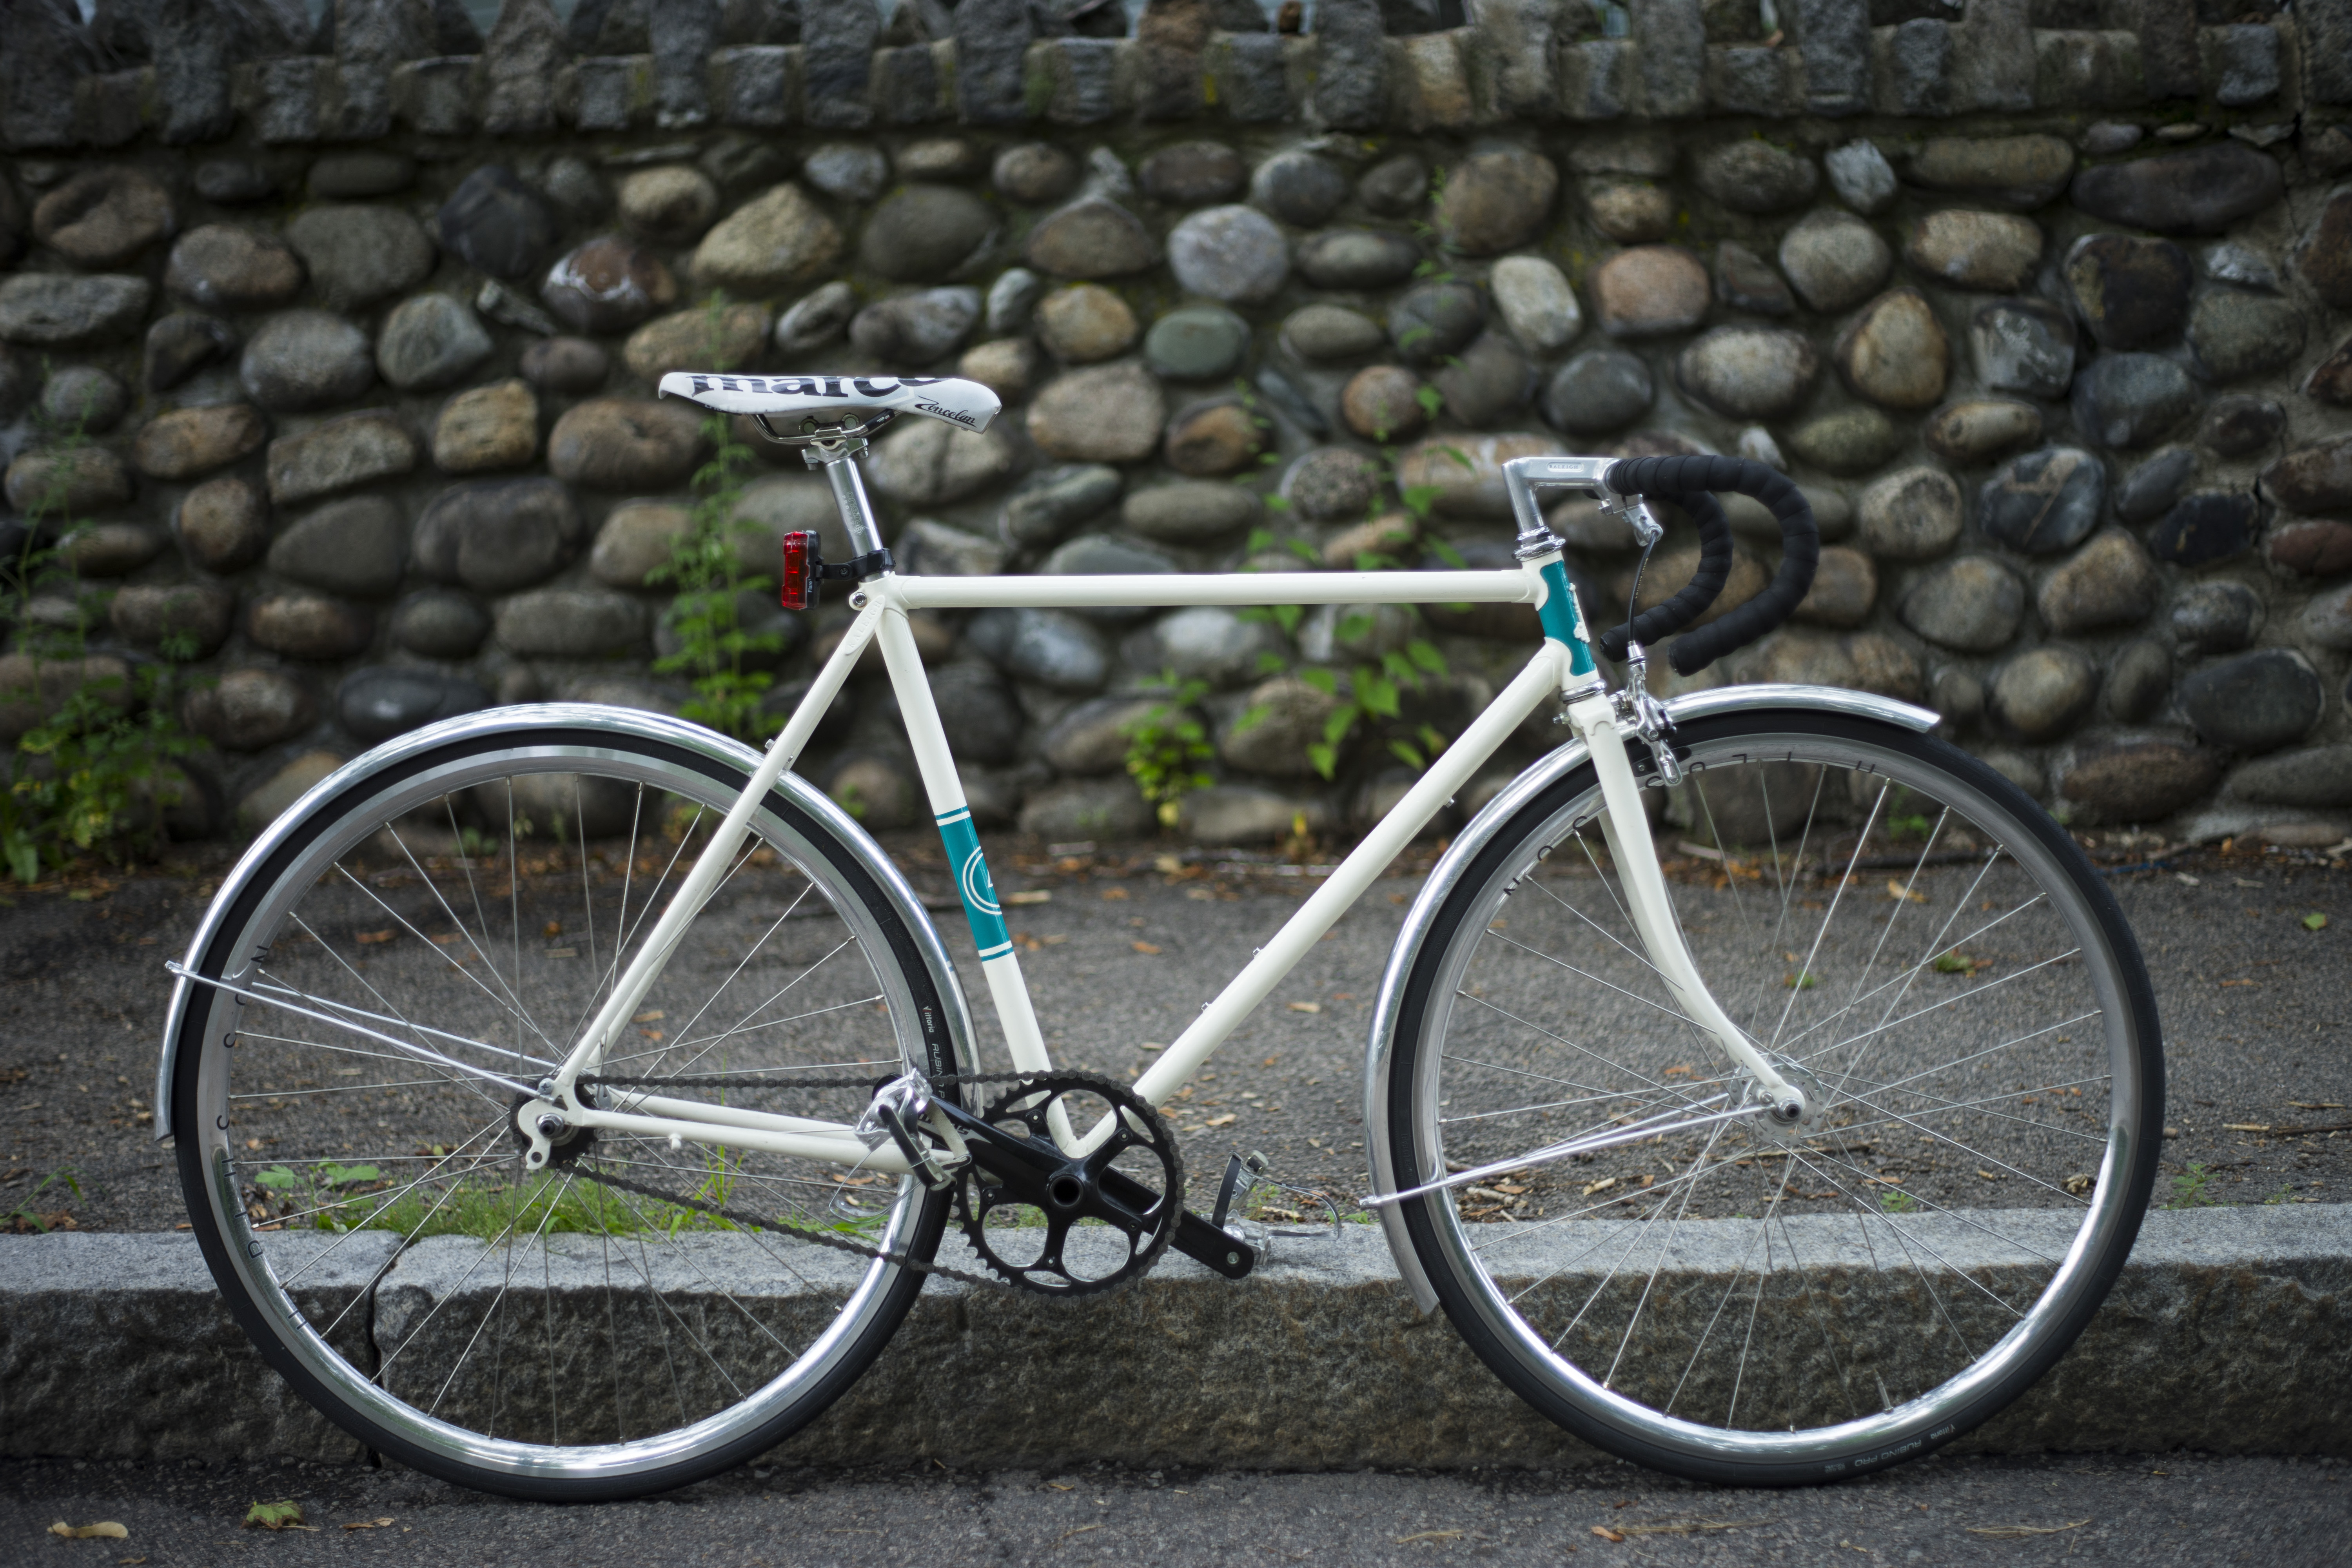
It’s been about nine months since I finished building my bike, meaning that it’s now experienced all four seasons that New England has to offer. She’s holding up very well, though I’ve started to notice some minor spots of rust here and there.
I wanted to finish this series before I forget everything that I did, so in this final post I’ll go into detail about how I chose the components that went on the final product.
Primary Considerations
Choosing components mainly came down to two main factors - compatibility and alignment with project goals.
Because I had chosen such an old frame, I needed to do a lot of research to figure ensure that all modern components would fit the bike. Once again, sheldonbrown.com was a huge help here. This process was made even more stressful by the fact that I was ordering everything online. Any slip-ups here would have caused significant delays, which were the last thing that I wanted after waiting for two whole months to actually ride the bike. Luckily, I didn’t encounter any problems with compatibility.
In terms of my project goals, the only two that directly applied were “don’t be flashy,” and “prioritize reliability.” I kept all of the components either black or chrome, so being too flashy was pretty much a non-issue. Reliability was a little more tricky, as it made required making decisions that often involved spending more money to buy a “better” component.
During this stage, I also ran into a problem with the “borrow as many tools as possible” project goal. It turned out that it was just too much of a hassle to borrow all the tools I would need, especially considering that I’d eventually need many of them to service the bike in the future. Ended up buying a set of adjustable wrenches and allen keys, which was just barely enough to let me finish assembling the bike. If I could do it again, I’d probably buy only a single, large adjustable wrench, then depend on a set of socket wrenches for everything else. Turns out it’s kind of a huge pain to actually use adjustable wrenches.
Drivetrain and Wheels
Given my focus on reliability, I put the most effort into picking the right wheelset and drivetrain components, as I knew that these would receive the brunt of the abuse.
For wheels, I bought a set of H+ Son Archetypes laced to Origin8 hubs. Sheldon Brown didn’t have much useful information on modern wheels, and “serious cyclist” forums seem to scoff at the idea of fixed gear bikes being used anywhere but on the track, so I turned to /r/fixedgearbicycle for doing my research. People seemed to like the Archetypes, and they were decently cheap, so I bought them. I was a little worried about getting Origin8 hubs instead of Dura-Ace or something, but I decided that I was unlikely to notice any difference whatsoever in buying more expensive hubs. I still stand by that decision. The wheels spin, so as far as I’m concerned, the hubs are doing their job.
I went with a SRAM S300 crankset, as it was a good middle ground between the top-of-the-line stuff and the budget stuff (and I found a site where they were 15% off). I’m happy with my choice, but I wonder if I could’ve saved a little money here by buying the next model down - the S100. If I remember correctly, most of the complaints people had about the S100s were that the cranks had a little flex in them, but I don’t think I’m heavy / powerful enough for that to really affect me. I got lucky, as my frame takes ISO bottom brackets, which is not the case for all Raleighs produced in the mid-80s. This allowed me to use the modern SRAM bottom bracket included with the cranks.
For the cog and lockring, I went with an 18 tooth East Asia Imports model. Again, EAI seemed like a well-respected middle ground between the cheaper stuff and the top-of-the-line track bike stuff. I also wonder here if I could’ve saved a little money buying something cheaper, but it doesn’t really matter now. I think that 18 teeth was just about perfect for the fairly flat Boston terrain I ride. I can accelerate quickly from a full stop and always feel like I can go as fast as I need to without pedaling my legs off.
Overall, I’m very very happy with how the bike rides - smooth and responsive. I’ve experienced no failures, even after riding through a Boston winter. Again, I’m honestly not sure how much quality of components actually comes into play here. I haven’t ridden any other fixies, so I have no idea if my bike is a good one, or if this sort of ride quality is the norm for fixies. If I ever build another bike, I’ll be sure to try a few others before deciding how much money I really need to spend to get the sort of quality I want.
Everything Else
While not exactly afterthoughts, the rest of the components didn’t directly affect the reliability of the bike, so I was much more relaxed when researching them.
The saddle was my most…interesting purchase. Basically, I went on eBay and looked for cheap, used, high quality saddles. Instead, I ended up getting a brand new Selle San Marco Zoncolan Racing Team saddle for just 20 bucks. It’s comfortable and light, but it’s also literally covered in huge, ugly logos, which I assume accounts for the low price tag. Also, it’s white, which quickly turned a shade of grayish-blue after riding in my jeans a couple times. For the seat post, I got an Origin8 which has also performed well. In order to determine the correct seatpost size, I used one of the charts available on sheldonbrown.com.
For the pedals, I got a set of MKS Sylvan Road pedals with matching toe clips and leather straps. I didn’t want to go clipless here because I didn’t want to deal with the trouble of lugging around a pair of cycling shoes with me whenever I needed to ride anywhere. Riding with straps was really weird at first, but I’ve learned to like them a lot. One thing to note if you’re considering these pedals is that they come from the factory with the bearings really tight. I read the reviews before buying, and was therefore prepared to adjust and lube the bearings myself. The only annoying part was that the dustcaps covering the bearings were also screwed in really tight, and I didn’t have the special wrench you need to get them off. In the end, a pair of pliers and some elbow grease worked just fine, but I dread having to take those off again.
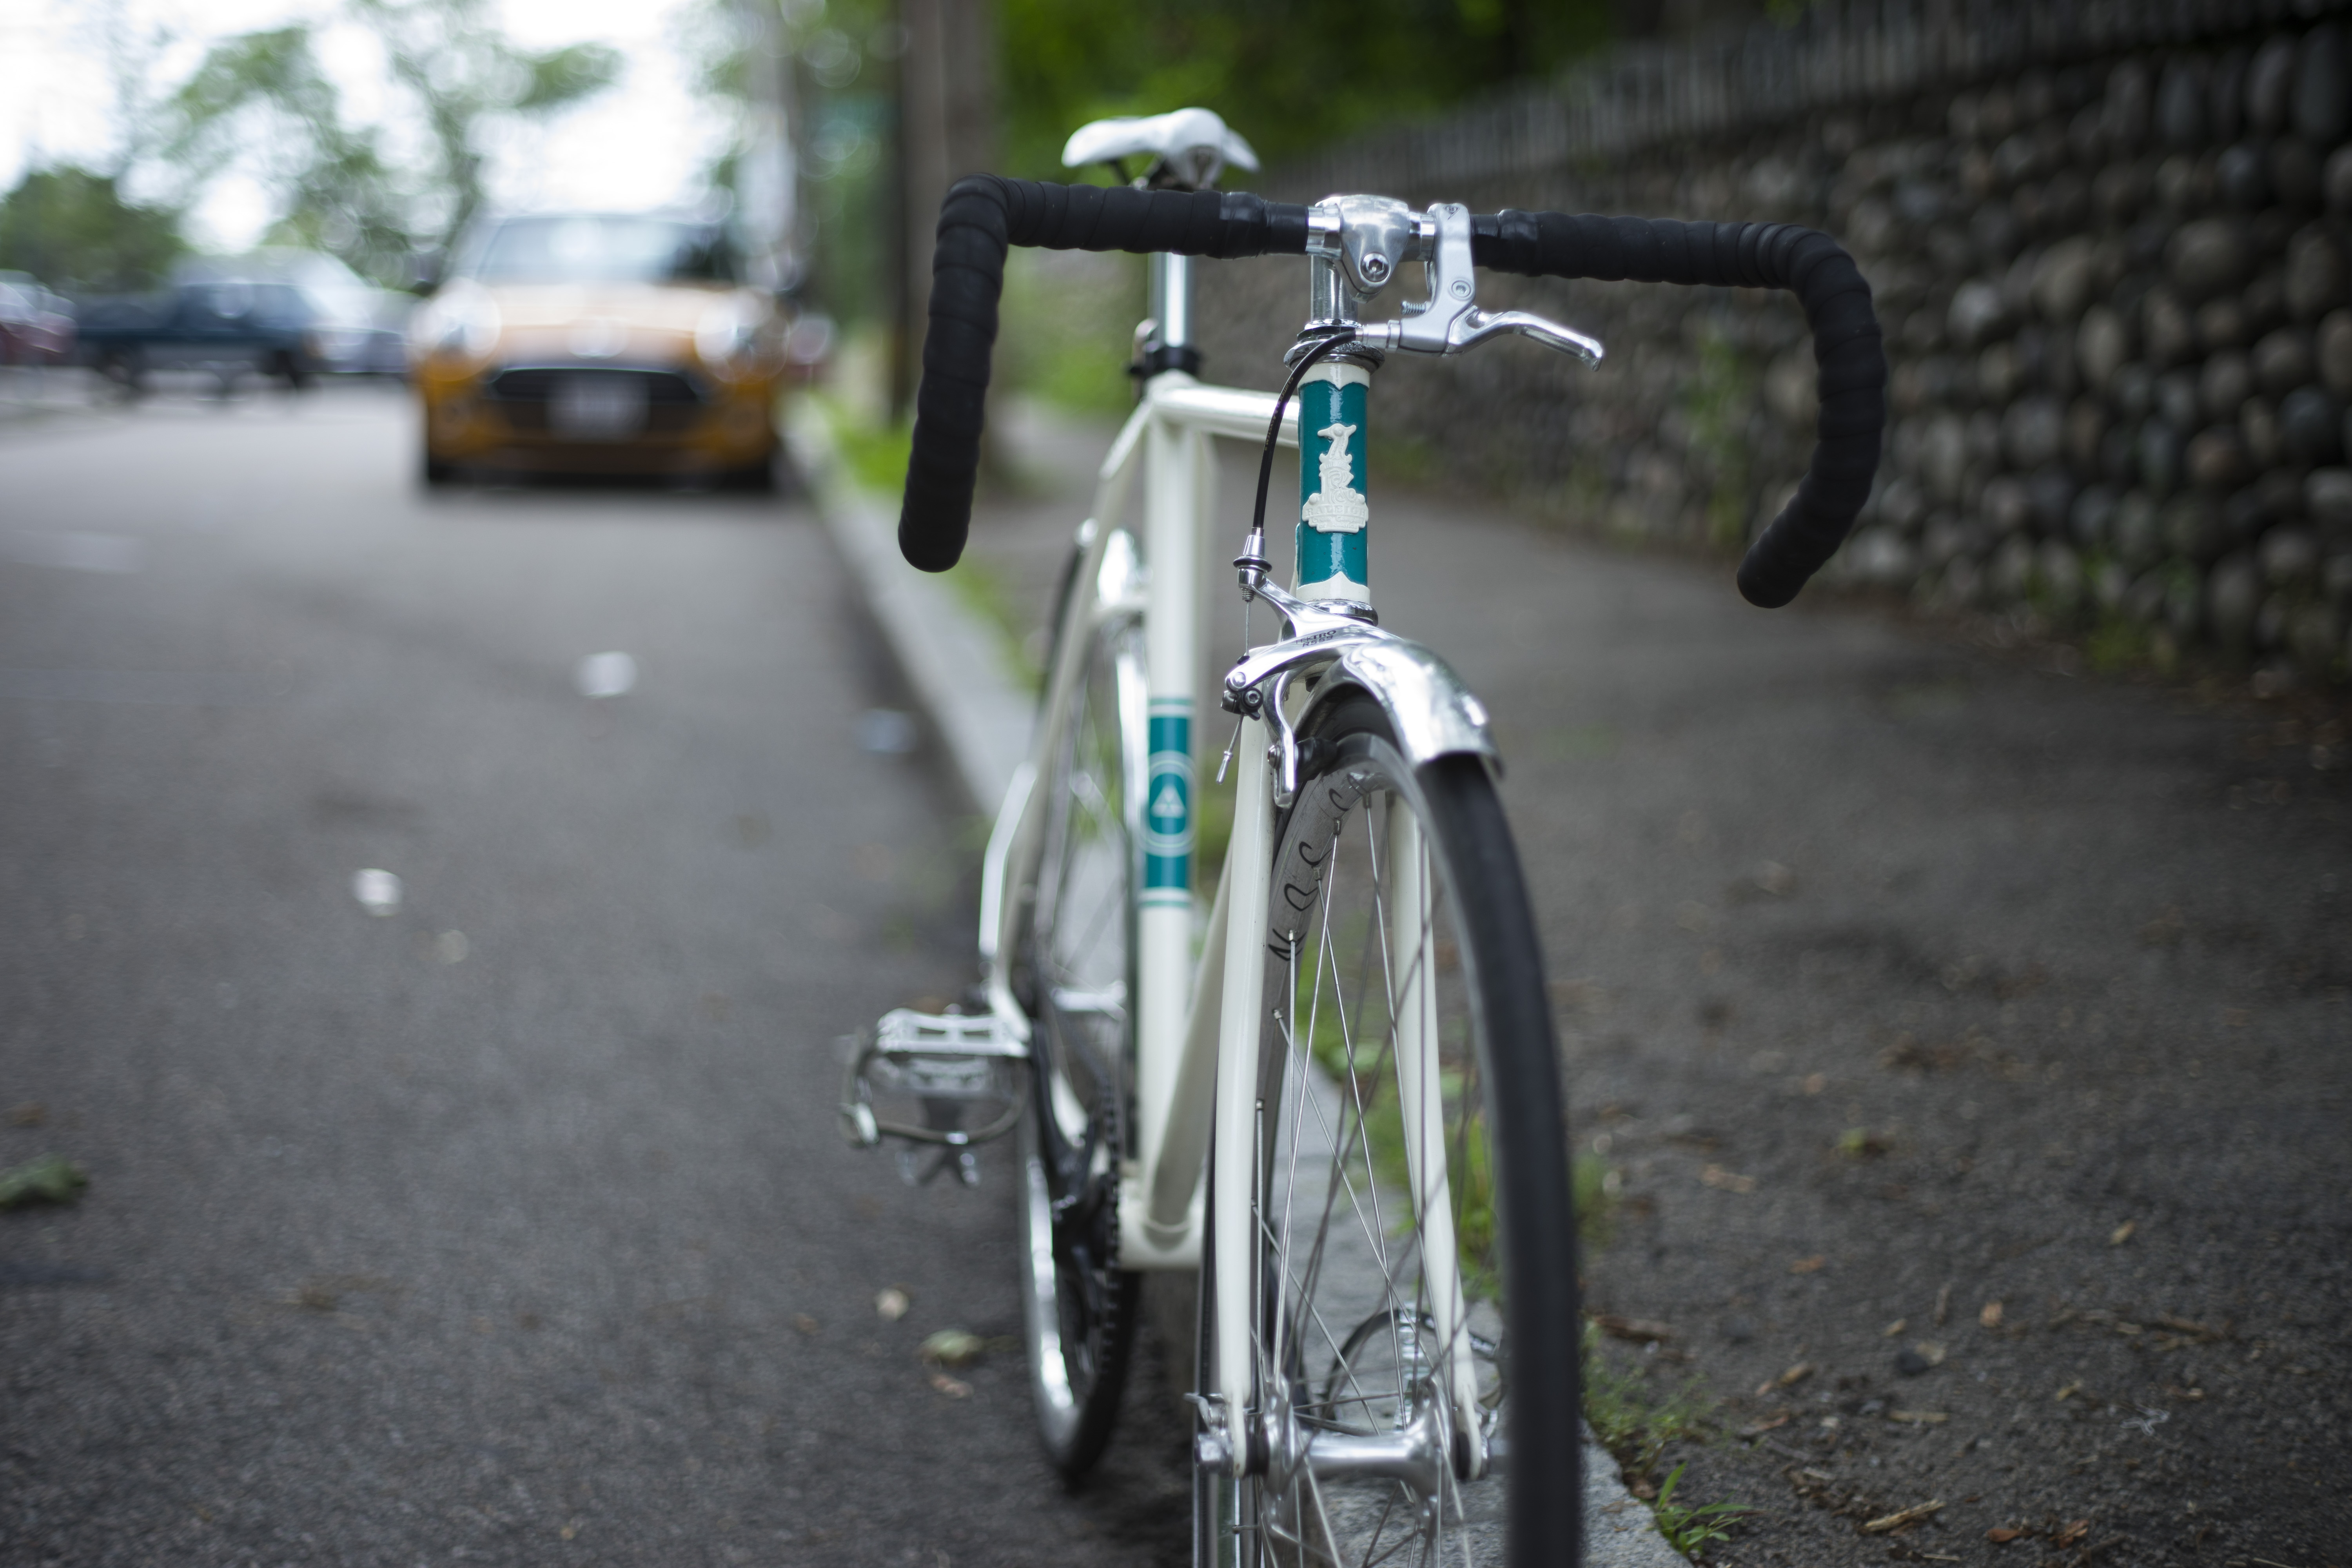
Given how bad Boston drivers are, and the fact that I live at the base of a steep hill, I did end up putting a brake on. I don’t regret this at all. I mounted the smallest Origin8 lever I could find right next to the stem and hooked it up to an extra long caliper brake (there was a lot of clearance between my wheels and the brake mounting hole). At first, I found the amount of clearance unsightly, but when winter came and I felt the need to install some Velo Orange fenders, I was glad that it was there.
Putting it all Together
After almost two months of painting, the actual assembly of the bike only took a single night. To my relief, everything fit together perfectly. There was one hitch where I realized that I needed a chain breaker and desperately resorted to trying to hammer the pins out, but luckily a friend of mine let me borrow his. I was very proud of myself for getting everything working so smoothly on the first go, that is until both tires popped as I tried to roll the bike out the door to take it for a test ride. Turns out I had neglected to buy (and therefore apply) rim tape. Oops. That was a pretty big letdown, but I got up early the next morning to buy some new tubes and rim tape, lubed the chain up, and was finally able to ride my bike. I’ll never forget learning to ride a fixie in the rain on top of a heavily trafficked hill. Needless to say, it was quite the experience.
If you’d like to read this series from the beginning, you can start here.