When I set out to build my bike, I decided to do all the work on the bike with my own hands. This included painting the bike, which I wanted to do mostly with a paint brush instead of spray cans. Painting a bike with a brush is an entirely doable, but tedious, project. I figured I’d document my process and mistakes, so that others may benefit from the lessons I’ve learned.
Starting Out
The first step of the process was to strip all the existing paint on the bike, which I describe in the first post in this series. I opted for a clean, simple, two-tone paint scheme. The bulk of the bike would be a cream white, with teal accents on the head tube and seat tube. Here’s a picture of the finished product, to give you an idea.

Though this picture shows the frame in the bike stand, most of the painting was done with it hanging from an old microphone stand that I found on the side of the road. When painting, I hung the frame by its bottom bracket shell on one end of the mic stand, and hung the fork on the opposite end via a duct tape handle fastened to the steerer tube. You can see that I also fastened a duct tape handle to the bottom bracket shell to let me pick up and move the bike without touching any wet paint. All of the painting (except for the parts involving spraying) was done inside, as I do not have a backyard. This led to a nasty chemical smell in the house and a pissed significant other, but no long-term negative effects!
I started the painting process by masking off all threads on the frame using normal blue tape. For the bottom bracket threads, it was very easy to just stick a bunch of tape over them. However, for the smaller threaded holes on the bike, I had to resort to rolling the tape into little cones which I used as plugs. This ended up letting in some paint, which wasn’t too hard to clean out at the end with a safety pin and some extra screws. However, if I could do it over again, I’d pick up some screws from the hardware store and use them to properly plug all threaded holes on the bike.
Priming the bike was by far the easiest part of the painting process. I used a spray can of gray Rustoleum automotive primer, figuring it would be good enough to protect the frame from rust. Based on some recommendations from the internet, I tried wet sanding the primer afterwards, but it was far too thin to make it worth sanding (besides, it already had plenty of texture for the paint to stick to). I only sprayed about 4 layers of primer, which I’m not sure was enough as the final result was pretty thin (and there were some small bald spots). I guess only time will tell if I should’ve sprayed more.
The Base Coats
For the white base, I used some TotalBoat Wet Edge Topside paint, a polyurethane marine paint. This decision was based on Sheldon Brown’s recommendation, and it really does make sense. I wanted paint that could stand up to lots of sun, moisture, and abuse. Paint designed for boats would certainly be able to handle all three of these things. It’s not exactly cheap stuff, but you can buy it by the quart. I’d imagine you could paint 3+ frames with a single quart. One other thing to consider with marine topside paint is that it doesn’t come in many colors, though this wasn’t an issue for me.
I’d start each coat by wiping the bike down with mineral spirits, followed by a tack cloth. Then, I’d apply paint to half of the bike and wait for it to dry. I broke the bike up into two sections - one containing the seat tube + bottom bracket + stays, and the other containing everything else. I’d paint these sections on alternating days to make the amount of work more manageable. Right before painting a section, I’d go over it with some wet 600 grit sandpaper, using this time to clean up any runs in the paint and uneven spots. In my experience, sanding between coats is really forgiving, which was good, because I needed plenty of time to figure out exactly which parts to sand. It’s hard to describe without visual aids, but you want to sand the thick parts of the paint so that they blend with the thin parts. Don’t sand where the paint is already thin, or you’ll risk blowing through the paint and the primer. I’d recommend investing in some sort of proper stand to put the frame in when sanding. I did all of my sanding holding the frame over the bathtub, and it was a really miserable experience.
Encountering Problems
I made a lot of mistakes during this process, which didn’t have a huge effect on the finished product, but did mean extra hours of sanding away flaws in my coats. By far, the biggest mistake that I made was trying to paint too much at once. For my first coat, I slathered a ton of paint on the entire frame. This caused the paint to run and bubble. When I tried to sand this coat, I also found that the thickness had stopped the paint from drying fully, leading to a tacky surface that gummed up the sandpaper. Apparently, patience is a key part of hand-painting a bike. Don’t worry if you can still see primer through your coat of paint, and don’t go back to add more paint to already wet areas. You’ll regret it. Just apply the paint, let it dry, and worry about thin areas when you apply the next coat.
I also ran into problems with letting too much paint dry in my brush, causing it to stiffen up. Having soft bristles to paint with makes a big difference in how the paint goes on. Thinning the paint with mineral spirits also have an impact on ease of application, though I’m not sure I ever really found the “best” paint consistency.
All things considered, I could’ve fixed a lot of my problems by just reading this tutorial and following it exactly. I read it before starting the painting process, but didn’t fully internalize its tips. Doing so could’ve prevented a lot of heartache.
Detail Work
After finishing all of my base coats, I moved on to the teal accents on the head and seat tubes. For this, I used some 1 Shot sign painting enamel. The paint is designed to stand up to the sun, and goes on really smoothly over other paint.
I started with the head tube, masking off the badge (which was riveted on to the frame) and the lugs with blue tape. Then, with a skinny brush, I painted right over the existing white paint. It only took me two coats to get a really nice finish. I didn’t sand between coats because the surface was already really even and I didn’t want to destroy the finish. I followed basically the same procedure for the seat tube, masking off some stripes with little strips of blue tape. I also got some vinyl decals of my personal emblem custom die cut, and used these as masking material as well. I was really proud of how the vinyl masked area came out, with nice clean lines separating the teal stripes from the white emblem. The rest of the masking, however, was pretty bad.
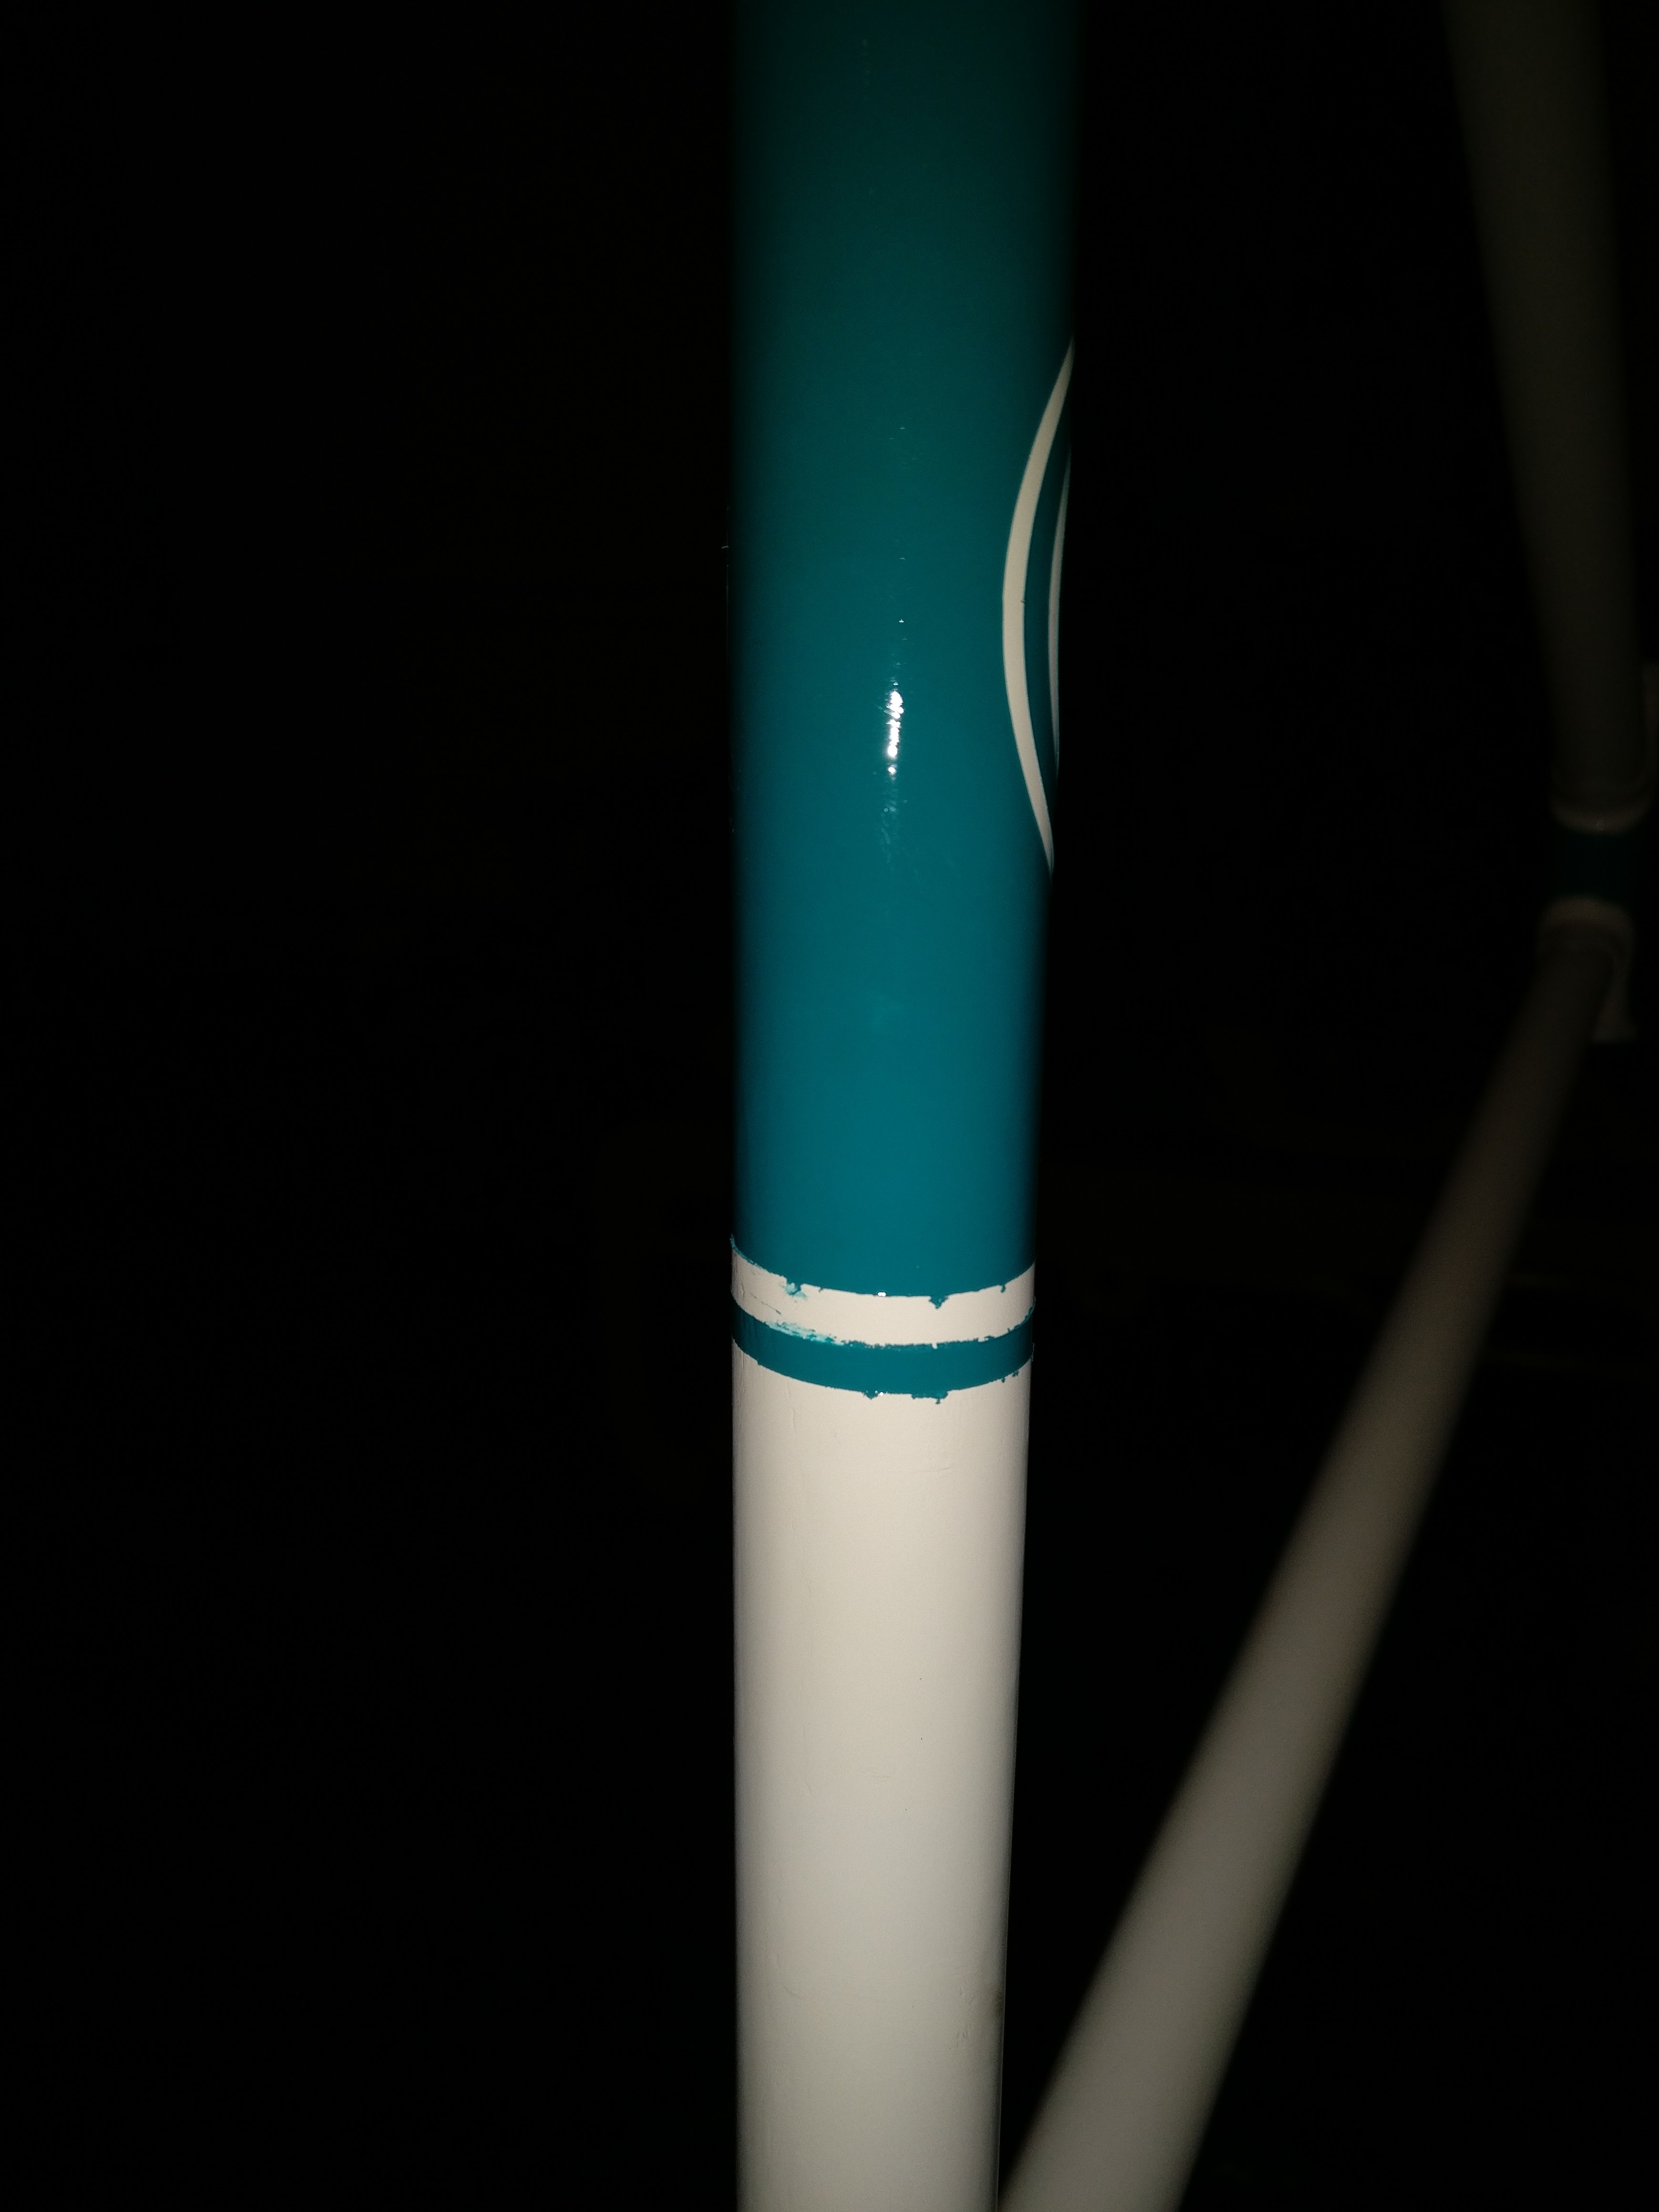
As it turns out, precisely masking a curved surface with blue tape is not that easy. On the head tube my poor masking job left some unpainted patches, as well as some splotches of teal in areas that were supposed to be white. On the seat tube, my failure to smooth the edge of the masking tape all the way created some gaps between the tape and the tube. Paint seeped into these gaps, causing some really uneven lines in the paint (see below).
Luckily the paint that had been caught in the gaps in the masking too longer to dry. As such, I was able to use a rag with some mineral spirits to clean up most of these problems instead of needing to do any repainting. For the areas that I completely missed, I went back over them by hand with a very fine brush. As it turns out, it probably would’ve been easier to give up on the masking from the beginning and just paint most of the stuff very carefully. However, for the areas where I needed the masking, the moral of the story is definitely to make sure that there’s a tight bond between your tape and the masked surface.
The Clearcoat
After all of the painting was done, the bike really looked pretty good. I probably could’ve left it as it was, but I opted to go over it with some clearcoat to get that deep, shiny finish. I chose 2K Glamour High Gloss in a spray bottle, which I understand to be some really strong, quality stuff. There are some really scary warnings on the can about not touching or inhaling this stuff, and I took those warnings very seriously by wearing gloves, long sleeves, and a ventilator.
I waited for a warm day and sprayed the bike. The 2K Glamour cans have a fan-shaped nozzle, which is probably great for spraying car body panels, but not so good for spraying skinny steel tubes. As a result, there was a lot of overspray. I only had enough paint for 3 or so layers of clear coat, which was a little thin. In addition, I wasted a lot of paint fixing a little mistake I made on the fork. At one point, I noticed a small run in the clearcoat. Foolishly, I grabbed a rag and tried to wipe the run off, only to get a ton of dust and fibers lodged in the tacky paint. I ended up needing to sand that entire area off and respray it the next day. I’m not sure what I should’ve done in that situation, but it sure as hell wasn’t that.
Conclusion
All in all, it took exactly a month of painting to get from wet primer to dry clearcoat. It was a ridiculous amount of tedious work, and probably about as expensive as it would’ve been to get a professional to powder coat the frame. As I said in my last post, if you’re not really invested in doing all of your painting by hand, it probably makes more sense to just have someone else deal with it. One thing that really struck me was that some of the little flaws and areas that I agonized over ended up being impossible to notice once all the components were on the bike. As I didn’t want to cut any corners, I don’t think that this knowledge would’ve affected how I painted at all. However, if one were to undertake a project like this and was more concerned about speed / amount of work required, I think that a lot of time could be saved by being a little more lax.
Hopefully this post will someday help someone else undertake a similar project, or even just help me remember what to do if I ever decide to paint another bike. Painting a bike like this is a huge pain in the ass, but oh so gratifying when you finally finish.